 Pin this
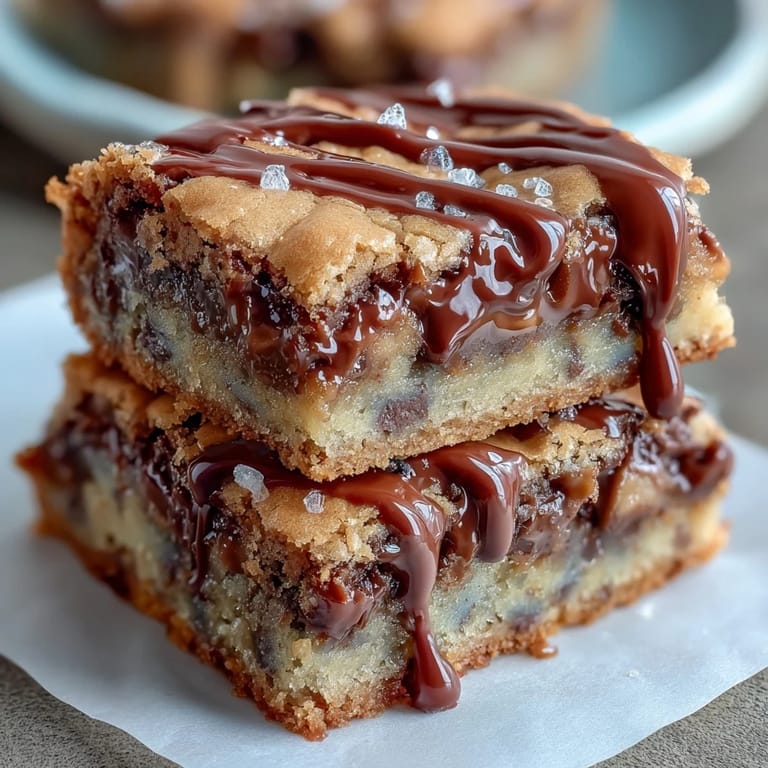
 My neighbor called me in a panic three days before her daughter's graduation party, asking if I could whip up something special that screamed celebration. I'd been stress-baking since college, but these bars felt different—they needed to be impressive yet foolproof, colorful without looking like a craft project gone wrong. The moment I pulled the first batch from the oven and saw those golden edges with pockets of melted chocolate, I knew I'd found something worth repeating.
What really stuck with me was watching a kitchen full of teenagers decorate their own bars at a graduation party—some went minimal with the sprinkles, others went wild, and somehow every single one felt personal and celebratory. One kid said it was the first time she'd eaten something homemade that made her feel like someone actually cared about the details, and that comment stayed with me.
Ingredients
- All-purpose flour (2 1/4 cups): This is your foundation—measure by weight if you have a scale, as it makes a real difference in texture and prevents overly dense bars.
- Baking soda (1 teaspoon): Your lift and spread agent; don't skip it or the bars will be too cakey.
- Salt (1/2 teaspoon): This tiny amount brightens every flavor and balances the sweetness beautifully.
- Unsalted butter (1 cup, melted and cooled): Melting it first saves you time and creates that signature chewy texture; let it cool slightly so it doesn't scramble the eggs.
- Brown sugar (1 cup packed): The molasses here brings moisture and depth that white sugar alone can't deliver.
- Granulated sugar (1/2 cup): This pairs with brown sugar to give you both chewiness and slight crispness at the edges.
- Eggs (2 large): These bind everything and create structure; room temperature eggs mix more smoothly, though cold ones will work fine.
- Vanilla extract (2 teaspoons): Pure vanilla tastes noticeably better than imitation, and you'll taste the difference here.
- Semi-sweet chocolate chips (1 cup): The backbone of flavor; feel free to use chocolate chunks instead for a more decadent bite.
- Colored candy-coated chocolates (1/2 cup): These are your celebration moment—this is where you match school colors or make it festive; M&Ms work beautifully, but any similar candy works.
- White chocolate (4 oz): The finishing touch that elevates everything; quality matters here, so avoid the ultra-cheap stuff if you can.
- Vegetable oil (1 teaspoon): This thins the white chocolate so it drizzles smoothly without seizing up.
Tired of Takeout? 🥡
Get 10 meals you can make faster than delivery arrives. Seriously.
One email. No spam. Unsubscribe anytime.
Instructions
- Set up your stage:
- Preheat your oven to 350°F and line that 9x13-inch pan with parchment paper, letting the edges hang over the sides—this is your easy exit strategy later. You'll thank yourself when you're lifting the whole batch out without crumbling.
- Build your dry foundation:
- Whisk flour, baking soda, and salt in a medium bowl and set it aside; this keeps everything organized and prevents lumps from sneaking into your dough.
- Cream the sweet base:
- In your large bowl, whisk together the melted butter and both sugars until smooth, then add eggs and vanilla and mix until everything is pale and well combined. You're building the flavor foundation here, so don't rush it.
- Bring it together gently:
- Fold the dry ingredients into the wet mixture slowly until just barely combined—this is not the time to overmix or you'll end up with tough, dense bars that fight back when you bite into them. Stop as soon as you see no white flour streaks.
- Celebrate with mix-ins:
- Stir in both the chocolate chips and colored candies; this is where the party actually happens in the dough.
- Spread and bake:
- Pour the dough into your prepared pan and spread it evenly, then bake for 23 to 25 minutes until the edges are lightly golden and a toothpick inserted in the center comes out mostly clean with maybe a few moist crumbs. The center should feel just barely set when you touch it.
- Cool with patience:
- Let the bars cool completely in the pan on a wire rack; this matters more than you think because warm bars will crumble when you cut them.
- Melt your white chocolate magic:
- Chop or measure your white chocolate into a microwave-safe bowl, add the vegetable oil, and microwave in 20-second bursts, stirring between each one, until completely smooth and pourable. White chocolate seizes easily, so low heat and patience win every time.
- Drizzle and finish:
- Once the bars are cool, use a spoon or piping bag to drizzle the white chocolate over the top in whatever pattern feels right—messy lines, zigzags, whatever; then scatter sprinkles if you're using them. Let everything set before cutting.
 Pin this
 There's something magical about handing someone a homemade treat during a moment they've been working toward all their lives. These bars say more than words ever could—that you care enough to spend time in your kitchen thinking of them.
Why These Bars Work for Big Moments
Cookie bars have this built-in advantage: they're festive enough for a crowd but still feel personal and homemade in a way store-bought baked goods never do. The fact that you can customize the colors makes them feel like they were made specifically for whoever you're celebrating, which is honestly half the charm.
Making Them Match Your Celebration
The beauty of using colored candies is that you're not locked into any particular flavor—you're purely building atmosphere. I've made these for a blue and gold graduation, a class with purple as their color, even a mix of rainbow for a pride celebration, and every version felt special and intentional.
Storage and Serving Secrets
These bars keep beautifully in an airtight container at room temperature for up to four days, which means you can bake them ahead and actually enjoy the party instead of being stuck in the kitchen. If you're making them for a warm day, refrigerate them so the white chocolate stays set and the bars hold their shape.
- Cut them into neat squares using a sharp knife wiped clean between cuts for that bakery-quality appearance.
- Stack them in a clear container with parchment between layers if you're transporting them anywhere.
- They freeze beautifully for up to a month if you need to plan even further ahead.
 Pin this
 These bars have become my go-to for every celebration that deserves something more than ordinary. They're proof that the best treats are the ones you make with intention.
Recipe FAQs
- → How can I customize the colors for school events?
Use colored candy-coated chocolates and sprinkles matching the school's colors to personalize the bars.
- → What’s the best way to melt white chocolate for the drizzle?
Gently melt white chocolate with a bit of vegetable oil in short microwave bursts, stirring frequently to ensure smoothness.
- → Can I substitute the chocolate chips with other types?
Yes, dark or milk chocolate chips can replace semi-sweet ones to adjust sweetness and flavor.
- → How do I know when the bars are perfectly baked?
Edges should be lightly golden and a toothpick inserted near the center should come out mostly clean with a few moist crumbs.
- → What is the best way to store these bars?
Store in an airtight container at room temperature for up to four days to maintain freshness.