 Pin this
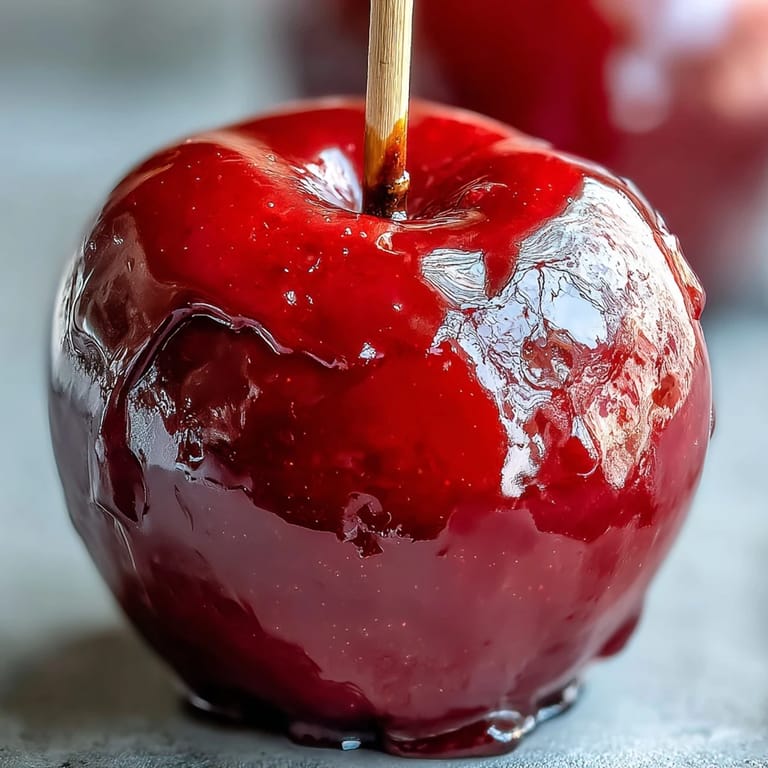
 My neighbor brought a box of candy apples to our block party one July, and I watched kids line up like she'd invented dessert itself. The glossy red shells caught the sunlight so perfectly that I had to ask for her secret—turns out, it was just patience and a good thermometer. That afternoon, I went home determined to master the technique, and after a few experimental batches (and one memorable disaster where I didn't dry the apples properly), something clicked. Now I make them for every gathering, and there's something deeply satisfying about transforming simple fruit into something that looks like it belongs in a carnival booth.
I made these for my daughter's school carnival bake sale, and a parent actually came back to ask if I'd consider making them as a catering side business. I laughed it off, but honestly, the comment stuck with me—there's something about homemade candy apples that factory versions just can't replicate. The way the light shines through them, how people's faces light up when they take that first bite—it transformed how I think about simple recipes.
Ingredients
- Apples (8 medium Granny Smith or Gala): Firm apples are non-negotiable here; soft ones will slide right off the stick, which I learned the hard way with mealy Red Delicious apples.
- Granulated sugar (2 cups): This is your candy base, and measuring matters—too little and you won't reach hard crack stage, too much and the mixture won't flow smoothly for dipping.
- Light corn syrup (1 cup): This prevents crystallization and keeps your candy glossy and glass-like rather than grainy.
- Water (1/2 cup): Just enough to dissolve everything without watering down your final candy.
- Red food coloring (1/2 tsp): Gel coloring gives deeper red than liquid, and you can always add more if the shade isn't vibrant enough.
- Wooden sticks (8): Soak them in water for 10 minutes before using if you want them to grip the apples better and resist splitting.
- Nonstick cooking spray or parchment paper: Your landing pad for hot candy—don't skip this step unless you enjoy scrubbing your baking sheet.
Tired of Takeout? 🥡
Get 10 meals you can make faster than delivery arrives. Seriously.
One email. No spam. Unsubscribe anytime.
Instructions
- Prep your station:
- Line a baking sheet with parchment paper and get your apples washed, dried completely (moisture is the enemy here), and stuck firmly with wooden sticks. Having everything ready before you start cooking the candy is not optional—once that syrup hits hard crack stage, you're working against time.
- Build your candy base:
- Combine sugar, corn syrup, and water in a heavy-bottomed saucepan and stir just until mixed. You want a heavy pan so the heat distributes evenly and prevents hot spots that can make your candy taste burnt.
- Bring it to a boil:
- Put the pan over medium-high heat and let it boil without stirring—seriously, no stirring allowed once it boils, or you'll trigger crystallization. Clip your candy thermometer to the side of the pan where it won't touch the bottom.
- Watch for hard crack:
- The mixture should bubble steadily and gradually turn from clear to pale golden (around 15-20 minutes). You're looking for 300°F on that thermometer—that's when you know the candy will shatter instead of chew.
- Add your color:
- The moment you hit 300°F, pull the pan off heat and quickly stir in your red food coloring until completely blended. The color will deepen slightly as it cools, so don't panic if it looks a bit bright at first.
- Dip with confidence:
- Tilt the pan and dip each apple into the hot syrup, rotating it gently so the whole surface gets coated evenly. The candy cools on contact with the apple, so work steadily but not frantically—a few seconds per apple is all you need.
- Set them to cool:
- Place each freshly dipped apple on your prepared baking sheet and let everything sit undisturbed for about 15 minutes until the shell hardens completely. Patience here pays off; moving them too early will crack the candy.
 Pin this
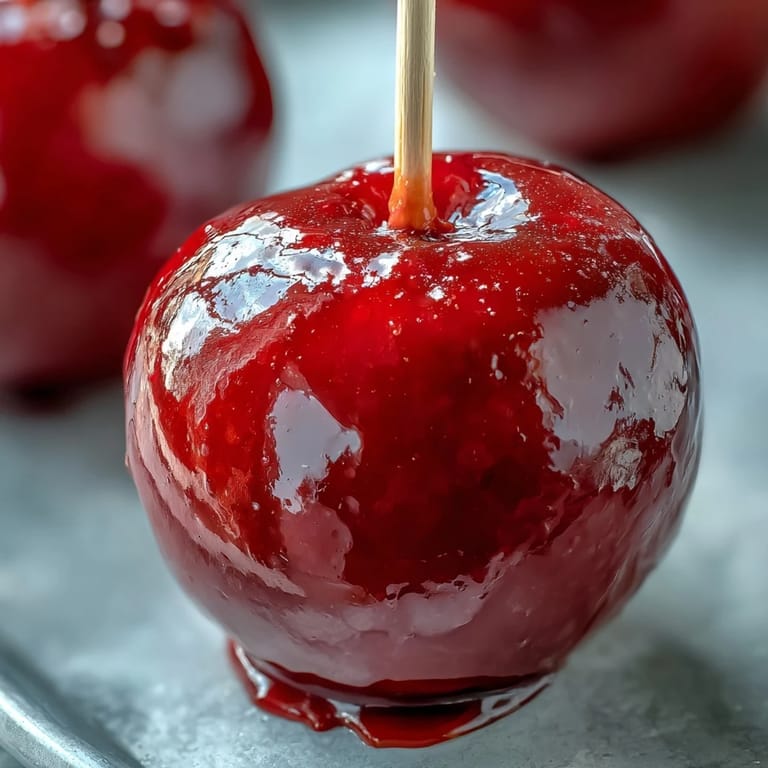
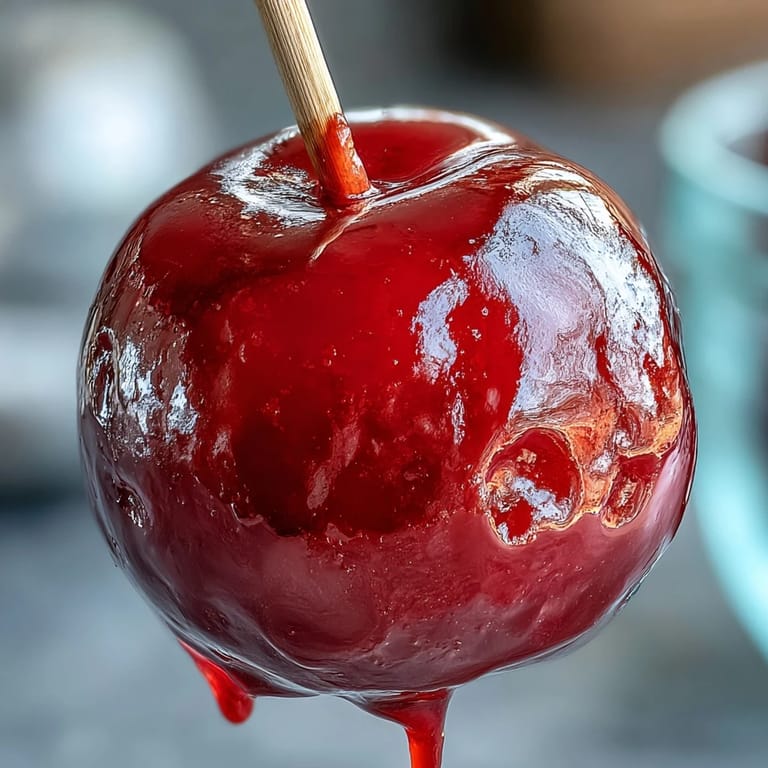
 One evening, I made a batch and my partner walked in just as I was pulling the first apple from the hot syrup—that moment when the light hits the wet candy and it glows like stained glass still gets me. We stood there in the kitchen, watching them cool, and somehow this simple dessert turned into our thing; now they're what we make together when we want to slow down and pay attention.
Timing and Temperature Are Everything
I used to think candy apples were intimidating until I realized the process is actually quite forgiving once you understand the temperature. The hard crack stage at 300°F is the sweet spot—below that, your candy will be chewy; above that, it turns dark and bitter. I keep my thermometer at eye level now so I can watch it climb without guessing, and it's made all the difference in consistency.
Flavor and Texture Variations
Beyond classic red, I've experimented with apple varieties and discovered that tart Granny Smiths really shine because they cut through all that sweetness, while Galas give you that pleasant tartness-and-sweetness balance. I've also rolled freshly dipped apples in crushed nuts, sprinkles, or even edible glitter before the candy hardens, and each addition feels like a small celebration. The base recipe is flexible enough to play with, which means you can make them feel custom without starting from scratch.
- If you roll apples in toppings, do it within seconds of dipping while the candy is still slightly tacky.
- Store finished apples at room temperature in a cool, dry place, and eat them within a few hours for the best snap to that candy shell.
- A candy thermometer is not optional—it's the difference between success and a batch destined for the trash.
 Pin this
 There's something almost meditative about making candy apples; it's one of those recipes that brings people together without needing to be complicated. Serve them fresh, watch people's faces, and remember that the best part isn't the candy—it's the moment someone takes that first bite and smiles.
Recipe FAQs
- → What apples work best for coating?
Firm varieties like Granny Smith or Gala hold up well and provide a nice balance of tartness and sweetness.
- → How do I know when the candy coating is ready?
The syrup should reach the hard crack stage, about 300°F (149°C), to ensure a firm, crisp coating once cooled.
- → Can I add toppings to the coating?
Yes, rolling the apples in chopped nuts or sprinkles before the candy hardens adds texture and extra flavor.
- → What is the best way to prepare the apples before coating?
Wash and dry the apples thoroughly, then insert wooden sticks firmly into the stems for easy dipping and handling.
- → How should coated apples be stored?
Allow the coating to fully harden at room temperature and serve within a few hours for best crispness and shine.